Step 3: Making the post
Well, you're on 2+2 and chances are you already know most of this, but just in case...
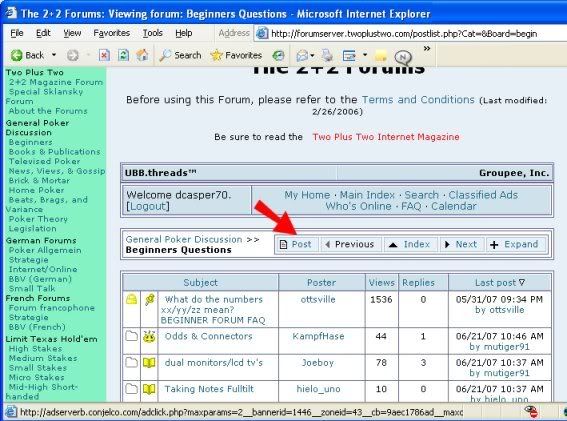
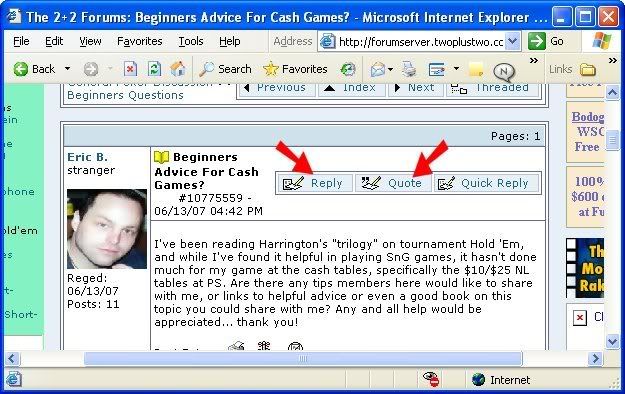
<u>3a) Start a post: </u>
Either press the <font color="blue">'Post'</font> link to start a new thread, or press the <font color="blue">'Reply'</font> or <font color="blue">'Quote'</font> links within an existing thread to begin your posting adventure.
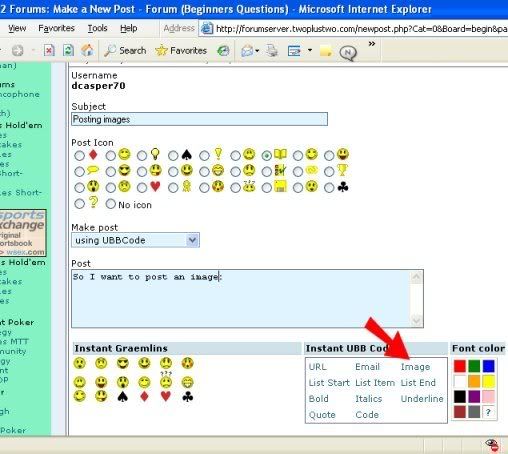
<u>3b) Insert the image: </u>
So you type along however much you feel is necessary (or not at all), and then press the
<font color="blue">'Image'</font> link.
Up pops a <font color="blue">'Prompt'</font> window that asks you to supply the link for the hosted image (see item 2d).
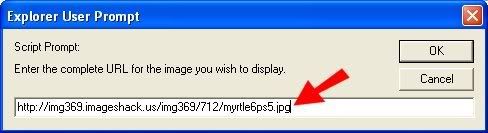
Enter the link from step 2d into the space provided and hit the <font color="blue">'OK'</font> button.
Your post now contains your image link enclosed in HTML image tags. Don't muck with this.

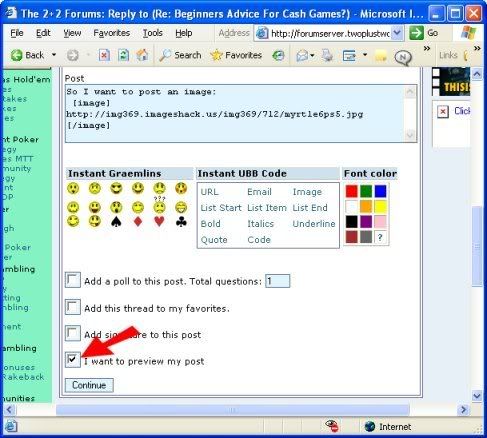
<u>3c)Preview the post: </u>
This isn't required, but it's a very good idea. Check off the box marked <font color="blue">'I want to preview my post'</font>, then press the <font color="blue">'Continue'</font> button. This will show you what your post will look like, correct or not.
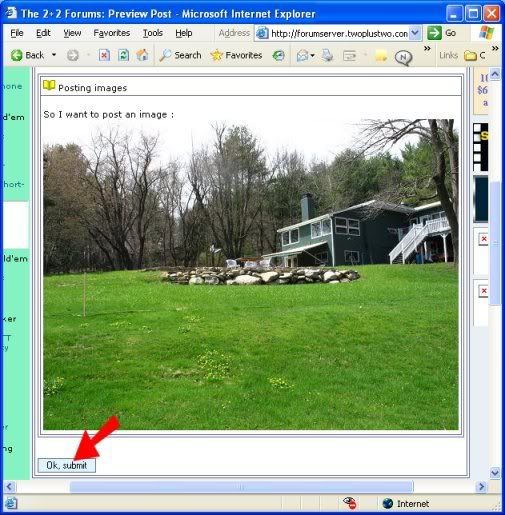
<u>3d) Post it: </u>
Press the <font color="blue">'OK, submit'</font> button at your own risk.
Happy posting!